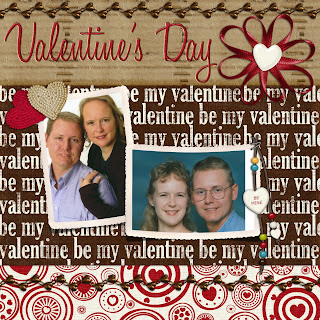
I am working on using a QP from Digitreats that I will try to walk you through. When using Storybook Creator Plus we cannot make the QP into the background. This would make it a solid paper. We need the png file to remain intact since it will have an opening to slide the picture behind. This leaves us with Dragging the (paper) QP onto our work surface. We may then need to resize it to fit our 12x12 page.* We can then put a picture onto the page by dragging it from the photos tab and positioning using the yellow + in the middle. If you have not already moved the picture to be on a layer below the QP, there are several ways to do that. I usually go to my layers(Found in the elements column on the left of your screen), click the picture layer and drag it below the layer I want to appear on top of it.
Now I have learned something today, I didn't realize the column our layers are located in was named elements. :)
*Nice surprise bonus for SBC+ users. You can open an 8x8 page and use a QP just as though it were 12x12. You will be resizing the paper to fit your page size anyway. This will be handy for home printing as an 8x8 will print beautifully on an 8 1/2X11 paper.I like to work in 12x12 because Creative Memories allows you to choose what size to print your page in once you upload it. 12x12 loses nothing in resizing. On the other hand 8x8 stretched to print 12x12 will lose clarity and definition. Check back later for hints on saving and resizing later. My head is spinning.
I've been trying to post a comment for you for a few days, lets hope this works! Thanks for taking this on, I appreciate your skill and willingness to share it!
ReplyDelete