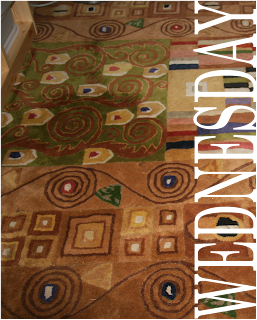
I have a couple hints for Storybook Creator Plus. Under my stuff in the Organize section you can load papers and embellishments. If you load your cropped* picture as a paper you can choose paper under the tools tab. When you have the png active on your page,(I enlarged the template in order to get as much of my picture as possible) then click the tools tab. Paper should be active. Click on the arrow under paper. All the papers you have loaded will become available to choose. Find your picture and select it. This makes it look like the png file I have attached. I am not a tutorial writer. Any questions left in the comment section will be my next effort to figure out and post.
 *The template seems to chose to use different spots of the picture . I think this may be due to the original process of saving. I will investigate this further.
Hey girl- send me a mail QUICK- lol
ReplyDeletewant to send you a little something-
kbroedelet(at)telkomsa(dot)net
HUGS
KimB
I can probably help you with tutorials...I started a blog last year for this.
ReplyDeleteEmail me and we'll chat :D.
landrees{underscore}mommy @ yahoo.com
Very clever idea for your blog - I'll pass the link to my CM friends! :)
ReplyDelete~Mags
magsgraphics.blogspot.com
FABULOUS! I followed your instructions and it worked out perfectly! At last I can use those png frames. I will try it out with the masks as well. Thank you! And thank you for responding to my question about jpg file sizing so quickly!
ReplyDeleteSamantha